透過 webmention 來搜集 blog 的社群迴響
當初選擇自架 blog,除了因為線上 blog 平台不能完美的滿足自己紀錄技術文的需求以外,希望可以自己能設計出自己喜歡風格的個人網站,以及簡潔流暢的介面,當我處理好內容以及樣式設計還有 donate 連結,下一步就是想讓網站可以有更多的社群互動,disqus 有販賣數據的嫌疑,一方面又覺得整合 github 的 utterance 還是沒有其他現成的社群網頁方便即時,因此一直以來我都沒有放上評論的功能。後來注意到許多國外技術個人 blog 可以在底下收集 twitter 的推文迴響,以及其他 blog 引用文章的歷史,最近比較有空就開始研究這要如何做到,就讓我注意到 IndieWeb 以及 webmention。
IndieWeb 和 Webmention #
IndieWeb 就是希望能夠自己擁有自己的文章 data,不被大型的商業網站綁架,能夠完全享有自己控制文章內容的自由的一個社群,Webmention 是一個由 IndieWeb 發起 W3C 標準,目前還是處於推薦的狀態,當你在你的網站上提及到任何 url 為其發表評論喜愛轉發引用,你都可以通知被引用的一方,而不是只能藉由大型社群網路作為唯一的互動渠道。
webmention.io 的機制 #
webmention.io 是幫助你實現 webmentions 收集處理的服務,整體的流程如下:
- A 在自己的 blog 寫了一篇文章
- B 在自己的 blog 引用了這篇文章
- B 告訴 webmention.io 自己在 B 站文章,引用了 A 站的文章
- webmention.io 確認 A 站有這篇被引用文章
- webmention.io 確認 B 站文章含有 A 站文章的連結
- webmention.io 會解析儲存引用資訊並提供 API 給 A 取用被引用的資料
使用方式:
- 透過 indieAuth 的方式修改個人頁面的 html 並有 twitter 或是 github 的帳戶可以做驗證
- 在 webmention.io 輸入自己的域名並用 github 或是 twitter 方式做登入 dashboard
接著把下面這段 <link> 塞入 html 的 <head> 裡面
<link rel="webmention" href="https://webmention.io/SITE.DOMAIN/webmention" />
<link rel="pingback" href="https://webmention.io/SITE.DOMAIN/xmlrpc" />
接著你就可以提供一個表單放到 blog 文章當中
<form action="https://webmention.io/SITE.DOMAIN/webmention" method="post">
  <input type="url" name="source" placeholder="你的 blog 網址" required="" />
  <input type="hidden" name="target" value="CITED_POST_URL" />
  <input type="submit" value="Send Webmention" />
</form>
意圖引用你的文章的人在你的網站提交表單就可以完成 webmention.io 機制步驟 3 的動作
microformat #
webmention.io 會透過 microformat 的方式解析你的數據,如果想要讓 webmention.io 把你的頭像以及網址放入引用資料中,請確認 html 有滿足 microformat 的格式 h-card 跟 h-entry 如下:
透過 h-card class 來解析作者資訊
<div hidden>
  <a class="u-url" href="POST_URL">POST_TITLE</a>
  <p class="h-card p-author">
    <a class="p-name u-url" rel="author" href="HOMEPAGE_URL">YOUR NAME</a>
    <img class="u-photo" src="PHOTO_URL" />
  </p>
</div>
透過 h-entry class 來解析文章內容發佈資訊
<main class="h-entry">
  <article class="e-content">
    <h1 class="p-name">your article title</h1>
    <time class="dt-published" datetime="2022-12-22 22:00:00">2022-12-22</time>
    Your article content
  </aritcle>
</div>
透過 brid.gy 收集 twitter 互動 #
大型社群網站依舊是最大的使用者互動途徑,我們可以透過 brid.gy 的免費服務將 twitter 上面推文的使用者互動資料收集處理,並轉發 webmention。進去 brid.gy 的網頁,用 twitter 帳戶登入以後,就可以爬你最新推文裡面如果有轉推支援 webmention.io 的網頁,就可以把相關資訊送出,不過 brid.gy 當然也不會全爬,過去的貼文也可透過 resend for post 將 webmention 送出。目前我自己的測試 brid.gy 仍有可能不會送出一些推文資訊,如果不求精準同步那麼問題就不大。
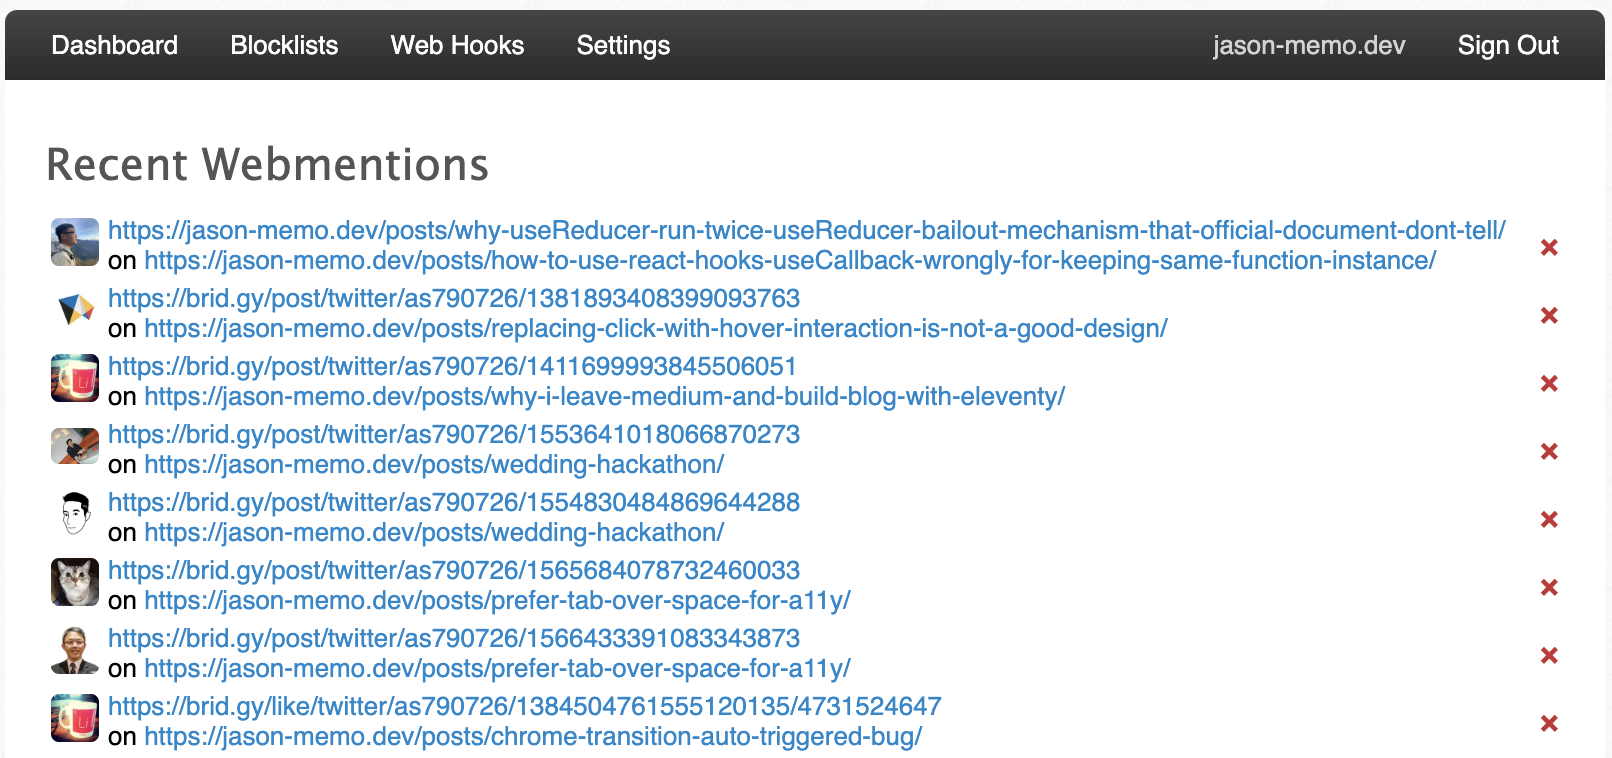
設定完成接著登入 webmention.io 的 dashboard 就可以看到 twitter 的資料慢慢的匯進來:
與 eleventy 整合呈現社群迴響 #
首先先安裝 eleventy-plugin-webmentions
npm i eleventy-plugin-webmentions接著在你的 eleventy config 加入這個 plugin
//.eleventy.js
module.exports = function (eleventyConfig) {
  eleventyConfig.addPlugin(Webmentions, {
    domain: "your-site.domain",
    token: "webmention.io.token",
  });
};
然後就可以在你的 post template 裡頭加入 webmentions 的資料
<!-- post.njk -->
{% set mentions = webmentions | webmentionsForPage %}
<ul>
{% for mention in mentions.likes %}
  <li>
    <a href="{{ mention.author.url }}" >
      <img src="{{ mention.author.photo }}" >
    </a>
  </li>
{% endfor %}
</ul>
<ul>
{% for mention in mentions.reposts %}
  <li>
    <a href="{{ mention.url }}" >
      <img src="{{ mention.author.photo }}" >
    </a>
  </li>
{% endfor %}
</ul>
<ul>
{% for mention in mentions.comments %}
  <li>
    <a href="{{ mention.url }}" >
      <img src="{{ mention.author.photo }}" >
      <p>{{ mention.content.html | safe }}</p>
    </a>
  </li>
{% endfor %}
</ul>
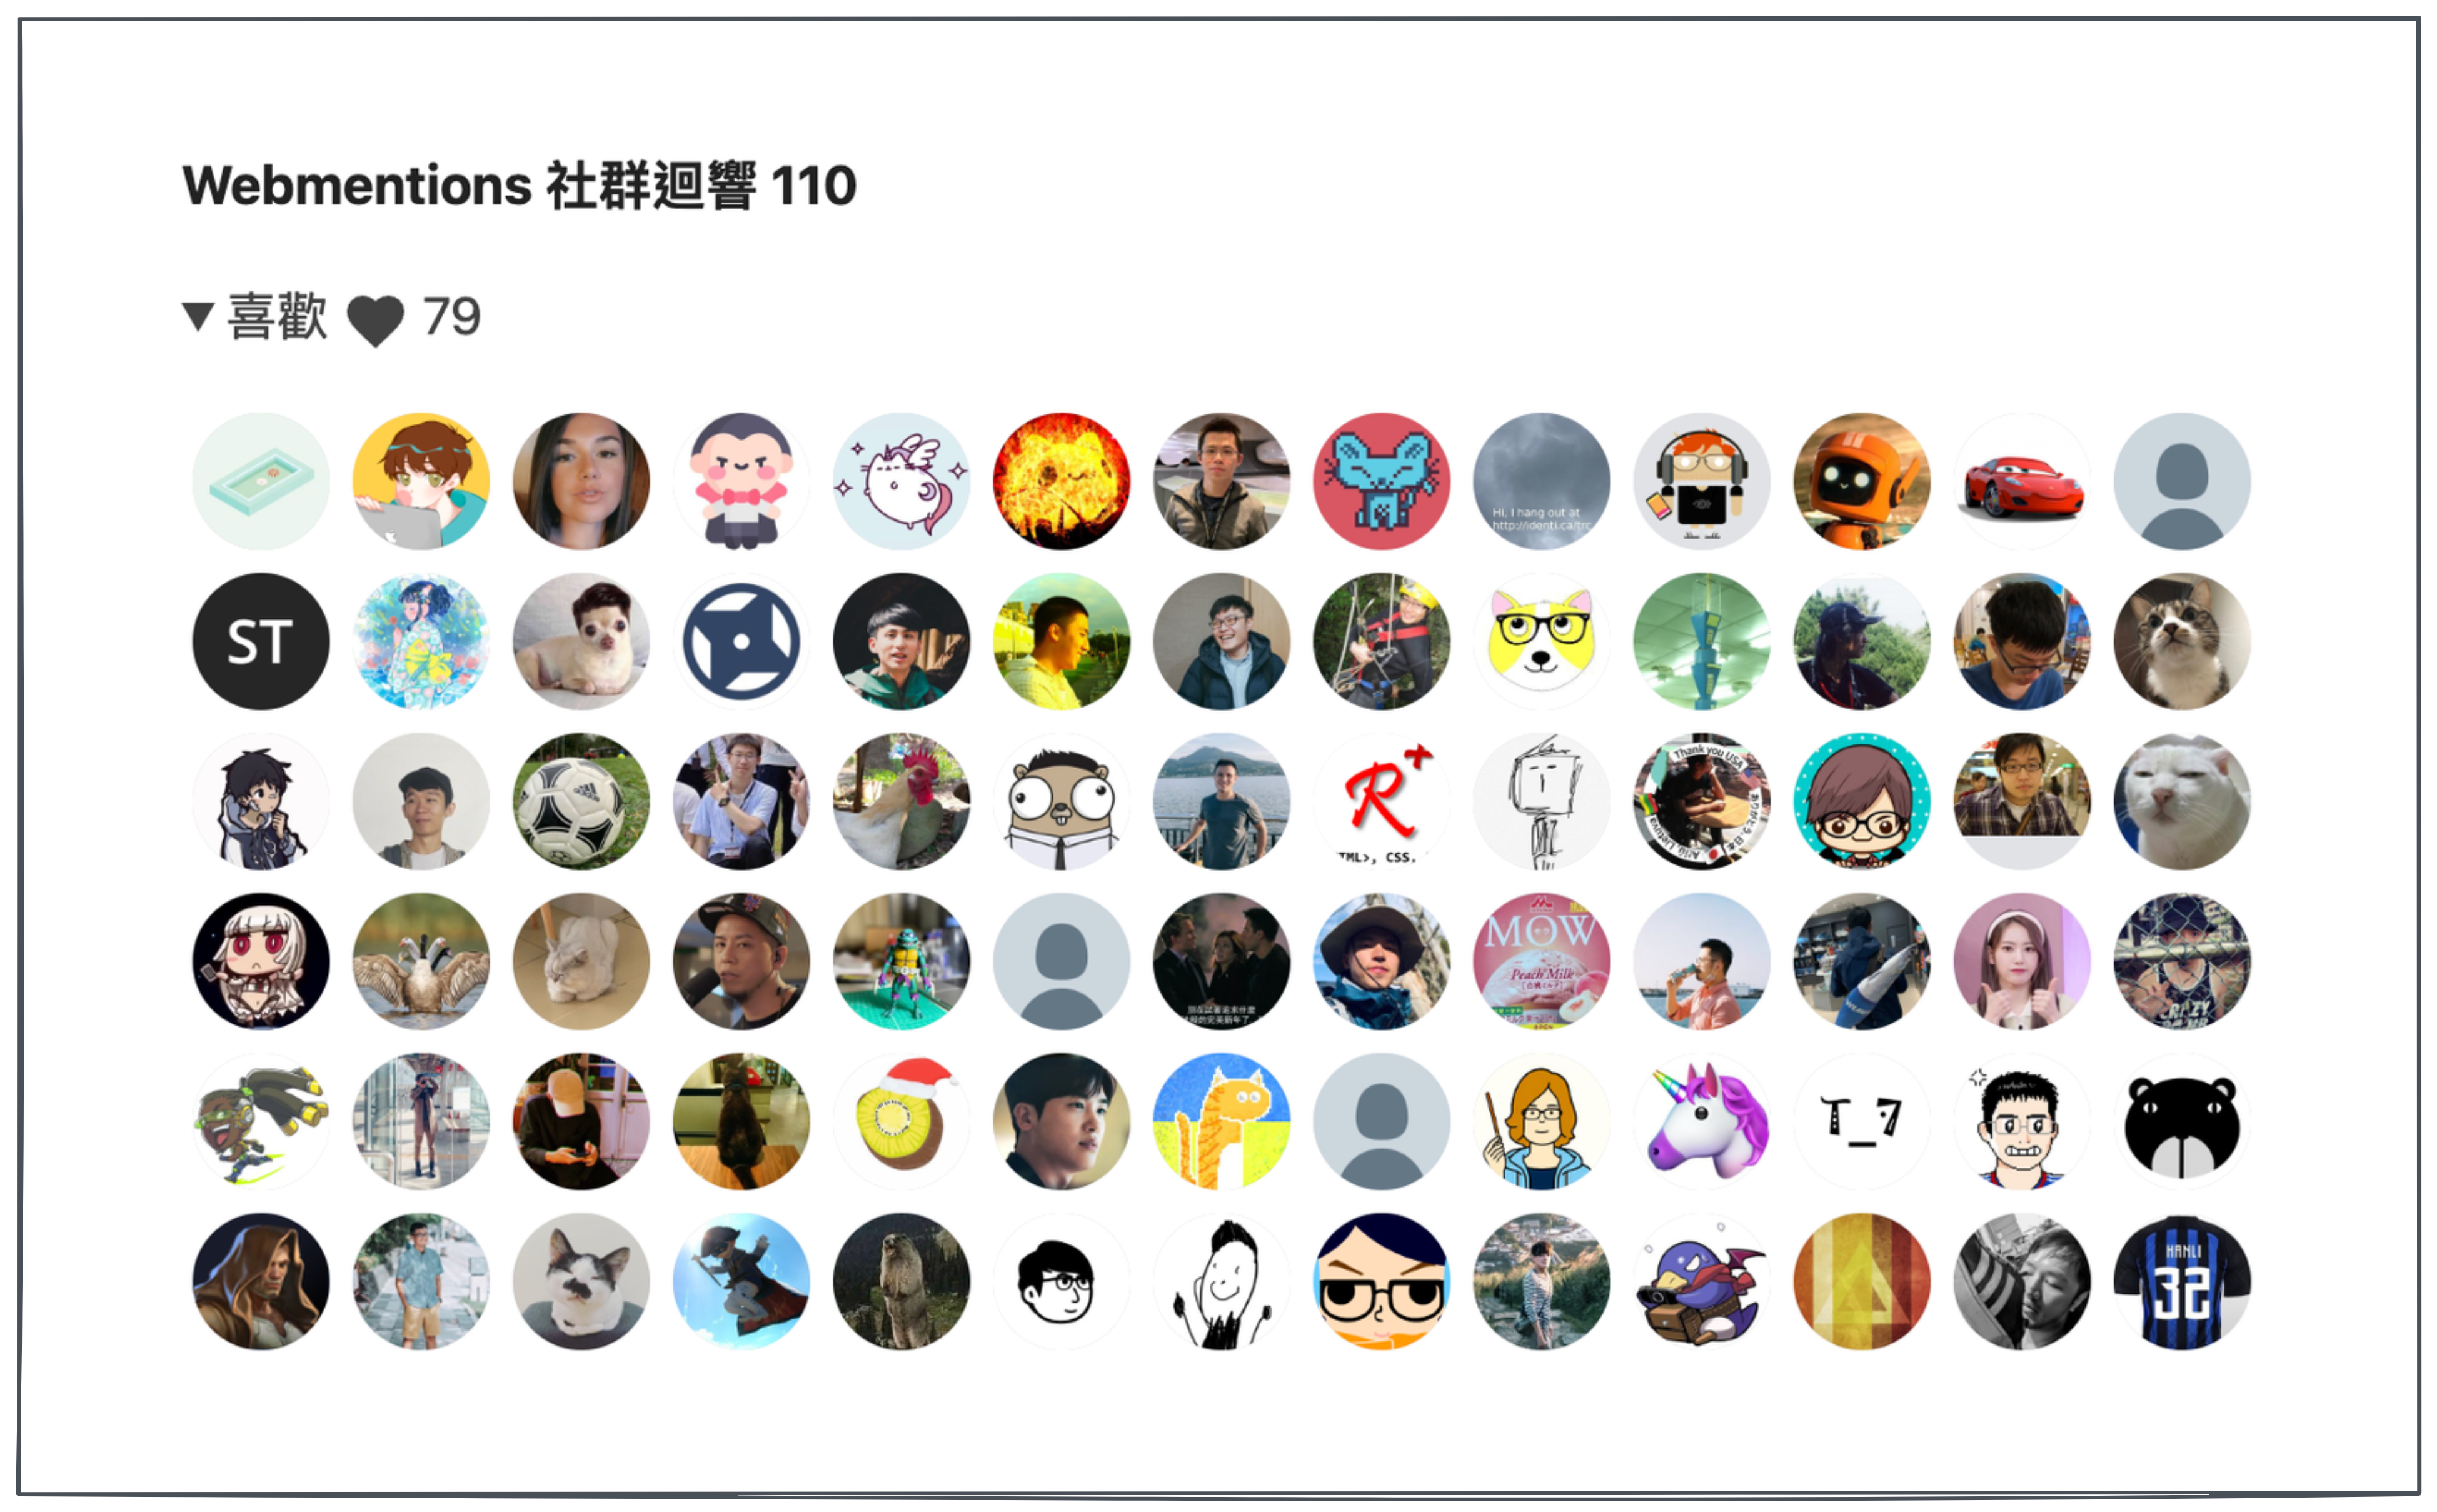
可以到此觀看效果 demo
其中要注意如果是 blog 文章引用的話,webmention 的 content html 會把整個 blog 的 html 放進來,需要自行實作 filter 或是截斷字串。
結語 #
經過這一連串苦工,我終於可以在自己的 blog 用 webmention 收集社群迴響,補齊了社群互動的最後一塊拼圖,也算是一個有趣的體驗。


